Spring is in the Air
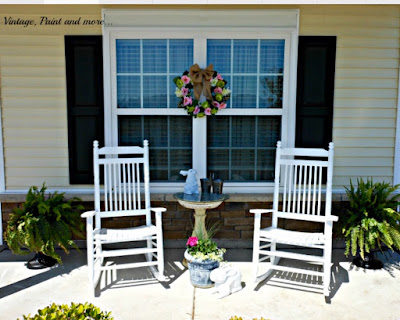
We love spending our days out here enjoying the sun and warm breezes. Our community is close knit so we also get to spend a ot of time chatting with neighbors. Such a lovely place to be.
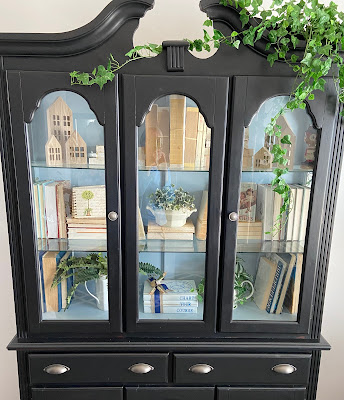
I love how adding a few green plants to this hutch turned library change it so much - giving it that Spring vibe I'm so needing right now. Now, I just need to get to the rest of the room and Spring it up a bit. I'll be working on that this week.
So, for now I am going to sign off and I will be back this week with another bit of fun for you. Stay tuned I've got lots of great stuff to share with you all.
Till next time'
Cathy